How to Install Sod: Expert Sod Installation Tips for Chattanooga Lawns
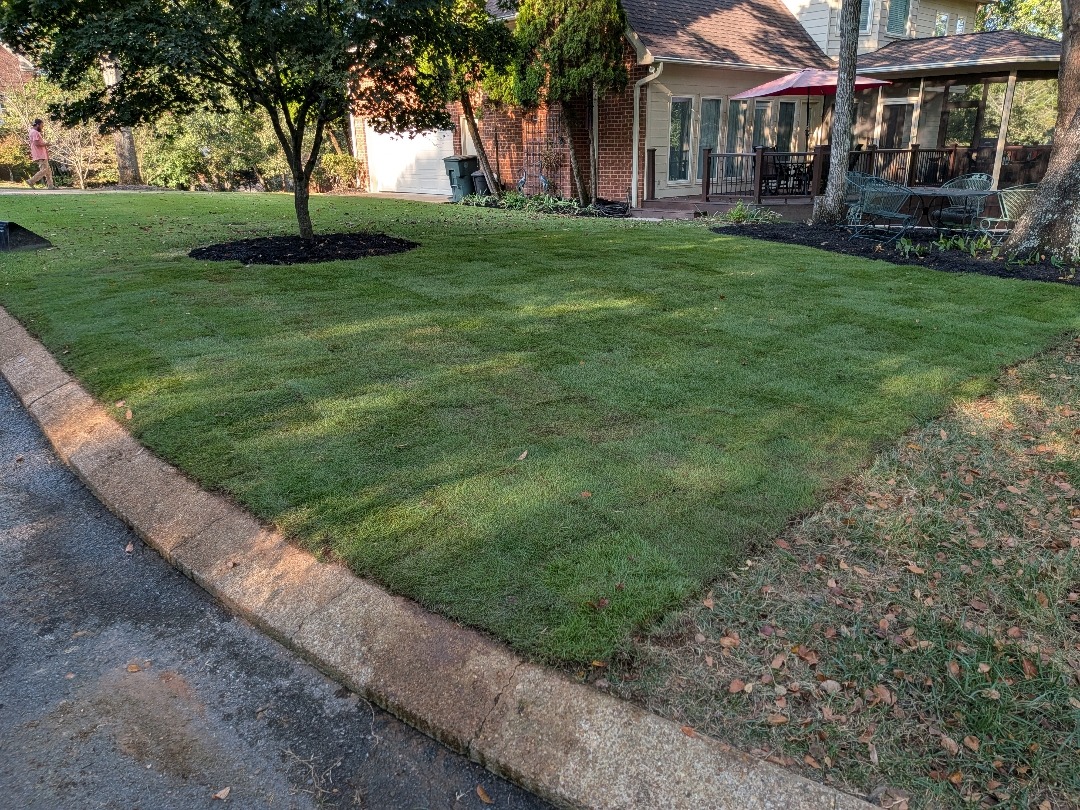
Installing new sod is one of the fastest ways to transform a lawn. In a matter of hours, a bare, patchy, or worn-out yard can become a beautiful green lawn.
But there's an important catch:
Your new sod is only as good as the preparation underneath it.
After years of installing sod throughout Chattanooga and the surrounding area, one of the biggest mistakes we see is homeowners—or even inexperienced installers—rushing through the preparation process.
You cannot simply lay new sod over old grass and expect good results.
Proper sod installation requires removing the existing turf, preparing and grading the soil, installing fresh sod correctly, establishing good soil contact, and, perhaps most importantly, watering it properly afterward.
If you're considering installing sod yourself, here's how we recommend doing it.
1. Completely Remove the Existing Grass
The first step in installing new sod is thoroughly removing the existing grass, weeds, and unwanted vegetation.
And we mean thoroughly.
Do not install new sod directly over existing grass.
This is one of the biggest sod installation mistakes we see.
New sod needs direct contact with properly prepared soil so its roots can establish. A layer of old grass, weeds, or other organic debris underneath the sod interferes with that soil contact and can create an uneven surface as the material underneath decomposes.
Taking shortcuts during preparation may save time today, but it can create problems with your new lawn later.
Galloway Pro Tip: Never lay new sod directly over existing grass. Proper sod preparation is just as important as the sod itself.
2. Cultivate and Loosen the Existing Soil
Once the old lawn has been removed, it's time to prepare the soil.
We typically use equipment such as a cultivator to loosen and work the upper layer of soil.
Compacted ground makes it more difficult to establish a healthy new lawn. Cultivating the area creates a workable soil surface and gives you an opportunity to properly grade and smooth the lawn before installation.
This step also helps expose rocks, roots, and other debris that need to be removed.
3. Remove Rocks, Clumps, and Debris
After cultivating the soil, rake the area thoroughly.
Remove:
- Large rocks
- Roots
- Clumps of old grass
- Construction debris
- Large soil clods
- Other organic material or debris
The goal is to create a relatively clean, smooth, and consistent planting surface.
Remember, once the sod is installed, whatever is underneath it can affect the finished surface.
A little extra preparation here can make a big difference in how smooth and uniform your finished lawn looks.
4. Pay Attention to Drainage and Final Grade
Before installing the sod, stop and look at the entire lawn.
Where is the water going to go when it rains?
This is especially important when installing sod in Chattanooga, where properties can have heavy soils and drainage challenges.
The soil should be graded so water naturally moves away from structures and doesn't collect in low spots, bowls, or depressions.
Standing water can saturate the soil and damage or kill turf. A low spot may not seem significant when the ground is bare, but after a heavy Chattanooga rain, it can turn into a puddle sitting underneath your new lawn.
This is the time to correct those problems—not after the sod has already been installed.
If the property already has significant drainage issues, those may need to be addressed separately before investing in a new lawn.
Galloway Pro Tip: Never cover up a drainage problem with new sod. Fix the grade or drainage issue first.
5. Assess the Existing Topsoil
Not every lawn needs additional topsoil.
After cultivating the existing soil, evaluate its quality.
If the property has reasonably good native soil, adding large amounts of new topsoil may not be necessary.
However, if you're dealing with extremely poor, rocky, or unsuitable soil, adding quality topsoil may help create a better environment for the new sod to establish.
This is another area where experience matters. Every property is different, and proper soil preparation for sod should be based on the actual conditions rather than automatically applying the same process to every lawn.
6. Complete Your Final Raking and Grading
Once the soil has been cultivated, cleaned, amended if necessary, and properly graded, rake everything smooth.
Take your time.
This final surface will become the foundation underneath your new lawn.
Remove any remaining rocks or clumps, fill low spots, and smooth uneven areas. You want a loose but even soil surface that is ready to make direct contact with the sod.
A beautiful sod installation starts with a beautiful finished grade.
7. Make Sure Your Sod Is Fresh
This is extremely important.
Sod is a perishable product.
Once sod is harvested, the clock starts ticking.
It no longer has an established root system supplying it with moisture from the ground. Rolled or stacked sod can quickly become stressed, especially during hot weather.
Ideally, sod should be installed as quickly as possible after harvesting—often within roughly 24–40 hours, and sooner during hot conditions.
We would be very cautious about buying sod that has been sitting stacked on a pallet for several days.
Fresh sod should look healthy and moist rather than dried out, yellowed, or deteriorated.
If you're installing a large quantity, coordinate delivery with your installation schedule so you're ready to begin when the sod arrives.
If you're still deciding which type of sod is best for your property, you can also compare our Chattanooga guides for Zoysia sod, Bermuda sod, and Tall Fescue sod.
Galloway Pro Tip: Don't order your sod until the site is ready. Prepare first, deliver second, and install immediately.
8. Lay the Sod Tightly Without Overlapping
Now comes the rewarding part.
Begin laying the sod across your prepared soil.
Place each piece tightly against the next so you don't leave unnecessary gaps between sections.
At the same time, don't overlap the pieces.
Overlapping creates raised areas and prevents proper soil contact.
Think of sod installation almost like laying flooring: you want clean, tight seams and a consistent finished surface.
9. Stagger the Joints
As you move from one row to the next, stagger the seams.
Avoid creating long, continuous joints running across the entire lawn.
A staggered or brick-like pattern creates a cleaner installation and prevents four corners from repeatedly meeting at the same location.
Make sure each piece remains firmly positioned against the neighboring pieces without stretching the sod.
10. Cut the Sod Neatly Around Edges
You'll rarely have a lawn where every piece of sod fits perfectly.
Around sidewalks, landscape beds, driveways, trees, and other obstacles, you'll need to cut pieces to fit.
A machete or other appropriate sod-cutting tool works well for making clean cuts.
Take your time around visible edges.
The details matter. Clean cuts around sidewalks, beds, and other features are one of the things that separate a professional-looking sod installation from a rushed one.
11. Roll the New Sod
Once the sod has been installed, we recommend rolling it with a lawn roller when appropriate.
Rolling helps press the sod firmly against the prepared soil underneath.
Good soil-to-sod contact is extremely important for root establishment.
Rolling can also help smooth minor irregularities and create a more uniform finished surface.
The goal isn't to excessively compact everything. You're simply helping eliminate air pockets and ensuring that the underside of the sod has consistent contact with the soil.
12. Water, Water, Water!
If proper preparation is the foundation of successful sod installation, proper watering is what keeps your investment alive.
New sod cannot simply be installed and forgotten.
Water the new sod thoroughly after installation so both the sod and the underlying soil receive moisture.
During the establishment period, the sod needs consistent moisture while its roots begin growing into the prepared soil underneath.
The exact watering requirements will depend on:
- Temperature
- Rainfall
- Grass variety
- Sun exposure
- Soil type
- Drainage
- Time of year
During Chattanooga's hot summer weather, freshly installed sod can dry out extremely quickly. Waiting too long to begin watering can cause significant stress before the new lawn ever has an opportunity to establish.
At the same time, you don't want standing water or constantly waterlogged soil.
The goal is consistent moisture throughout the root-establishment period.
For our complete schedule, read our Sod Watering Instructions for Chattanooga Lawns, which covers watering immediately after installation, the first several days, weeks 1–2, weeks 3–4, and ongoing watering after the lawn becomes established.
The Biggest Secret to Successful Sod Installation? Don't Rush the Prep Work.
If there's one thing we'd want a homeowner to remember from this guide, it's this:
Don't rush the preparation.
It's tempting to focus on the sod because that's the part you see.
But much of what determines whether a sod installation succeeds happens before the first piece of grass ever touches the ground.
- Completely remove the old lawn.
- Cultivate the soil.
- Remove rocks and debris.
- Correct drainage problems.
- Evaluate the topsoil.
- Establish the proper grade.
- Smooth the surface.
Then—and only then—install your new sod.
We've seen the problems that result when someone tries to save time by laying sod over existing grass or poorly prepared ground. Doing the preparation correctly the first time gives your new lawn a much better opportunity to establish and thrive.
Need Help Installing Sod in Chattanooga?
If you'd rather have the preparation, grading, installation, and establishment handled professionally, learn more about Galloway's Lawn Service's professional sod installation in Chattanooga.
Our team can help evaluate your property, select the appropriate sod variety, prepare the site, install the new lawn, and provide guidance for establishing it correctly.
References
- University of Georgia Extension. Soil Preparation Essential for Sod Success
- University of Georgia Cooperative Extension. Ten Steps to a Healthier Home Lawn
- University of Georgia Extension. Installing Turfgrass in the Winter